|
|
|
|
2002 TJ OME Lift
by Steve Leslie Shock Assembly
Now although the directions say to use a vise or a
press to assemble it, I was too lazy to go out to the garage (it was 1AM at the
time). So in tradition with my trademark for redneck engineering, I simply slid
the washer over the t-bar, used a little dish soap to lubricate the eye of the
bushing and used a pair of channel locks to push the t-bar through. Then I just
installed the other washer and followed it up with the circlip. Viola…the trick,
she is done! Front Springs & Shocks
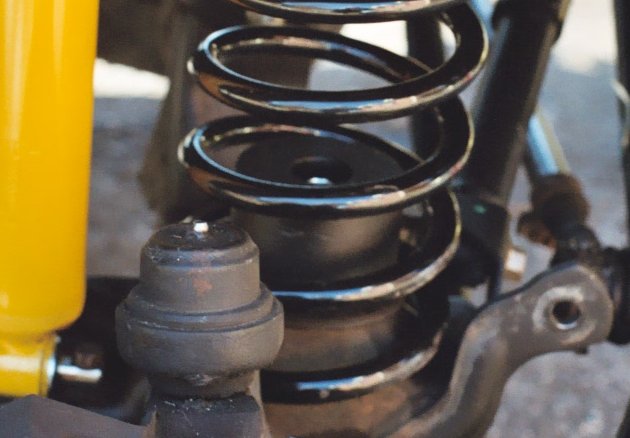
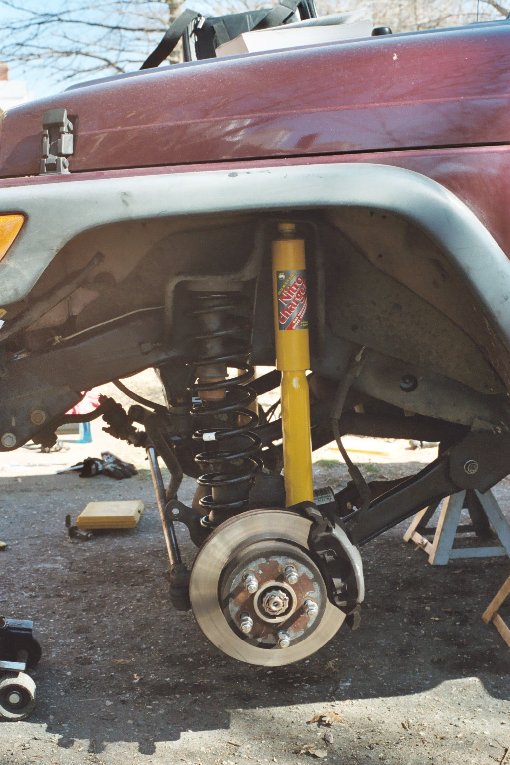
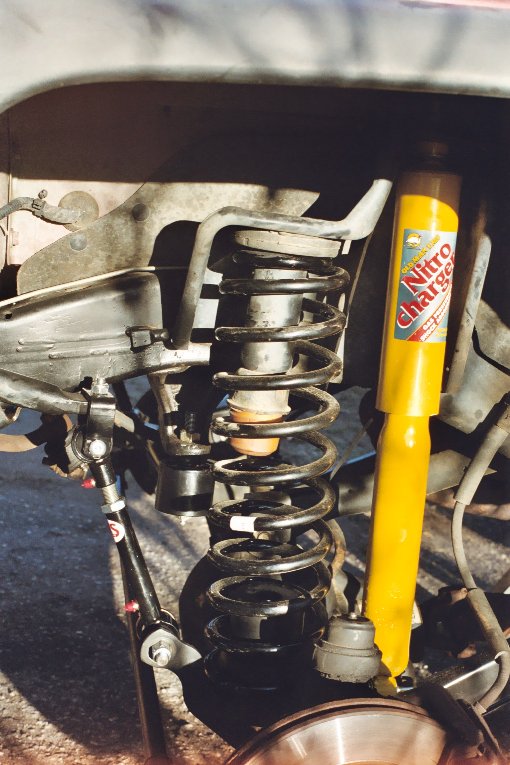
Before installing the new spring we installed the bumpstop extensions. These particular extensions install on the spring perch itself and are secured by 3/8" bolts. So, we drilled 5/16" holes, tapped out threads for a 3/8" bolt and installed the stops. You can kinda see the bump stops installed in the image to the left. Now onto the spring install. One spring is slightly taller than the other. The taller one is intended to be (and was) installed on the drivers side. Fairly simple, we just used the spring compressor to scrunch the spring down until it would go on the perch, then removed the compressor, while making sure that the spring pigtailed into the perch correctly. Then, jacking and jostling the axle, we lined up the LCA's, reinstalled and torqued the bolts (I reversed the bolts so that the threads face inward, to facilitate the future installation of an engine skid) and installed the shocks.
Front Track Bar Onto the front track bar…First, we removed the bolt at
the axle. Then took out the cotter pin and removed the nut at the frame. Then
Dale and I just took turns beating the heck out of it with the forkbar and BFH
until it finally broke loose. Now to install the new track bar we had to drill
out the frame side hole to 9/16". It's only the top potion of the hole that
needed to be drilled so it took no time at all. Once that was done we hung the
trackbar on the frame side and got the bolt godzilla tight. Now I was not to
worried about getting the axle perfectly centered, as I had
4wdSpecialty dial both trackbars in
and align it…but I wanted to get it fairly close. So Jen got in, turned on the
jeep and we stood in front while she turned the steering wheel fully to the
right side, then left, back and forth a few times. We then had her slowly turn
the wheel and eyeballed the axle to center. After which, we installed the axle
side of the tbar and torqued it all up…close enough for gubment work….
Rear Springs, Shocks & Track Bar |
|
|


 The
day before the install, I put the Jeep up on jack stands, removed the wheels and
sprayed every bolt that I planned to put a wrench to with PB Blaster to let them
soak over night. I then proceeded to assemble the shocks. They use a T-bar
mounting system that uses two washers to contain the poly bushing, which keeps
the t-bar centered. The circlip holds the whole thing together and adds a slight
preload to the bushing.
The
day before the install, I put the Jeep up on jack stands, removed the wheels and
sprayed every bolt that I planned to put a wrench to with PB Blaster to let them
soak over night. I then proceeded to assemble the shocks. They use a T-bar
mounting system that uses two washers to contain the poly bushing, which keeps
the t-bar centered. The circlip holds the whole thing together and adds a slight
preload to the bushing.